
Welcome to the iPadForums.net Tutorial on Jailbreaking the iPad1 with sn0wbreeze on Windows. This is a Windows only solution. OSX users should look at the pwnage tool tutorial in the Hacking Section, which uses the same custom firmware method as sn0wbreeze.
Jailbreak Preparation.
The advantage of using sn0wbreeze to jailbreak is that you do not need to prepare the iPad with the particular firmware you intend to jailbreak. sn0wbreeze will install a fully jailbroken customised firmware as part of it process.
However, if you want to restore your iPad with it's current Apps and settings (saved game data, etc.) at the end of the process, you must ensure you have syncronised fully with iTunes before you progress. The backup process in iTunes (which is the first thing to run) must have completed without errors if you want to be able to restore the state of your iPad later.
The versions of IOS which are supported by sn0wbreeze are detailed in our Hacking Section Sticky - Jailbreak Methods. If you are not upgrading to the current IOS firmware release you may need to reference our SHSH Blob Frequently Asked Questions thread to understand how you can use blobs to install a firmware other than the latest and greatest Apple offering. Whilst sn0wbreeze enables you to install a custom firmware, it cannot bypass the Apple signature check for the version you are trying to install, therefore unless you have saved blobs or you installing the current firmware version then you are out of luck.
Next, you will need to download the latest version of sn0wbreeze from the iH8sn0w website. Always source sn0wbreeze from this site to ensure its authenticity.
Finally, sn0wbreeze relies on having a full copy of the IOS firmware IPSW file to create its custom firmware file. You need to download the correct firmware file, matching the version of IOS you want to be installed on your iPad. Check out our Hacking Section Sticky - Official Apple IOS Firmware Download Links for iPad.
Whilst the firmware file is downloading, which may take some time depending on the speed of your internet connection, you should extract the sn0wbreeze ZIP file into a folder on your desktop.
Important Step!
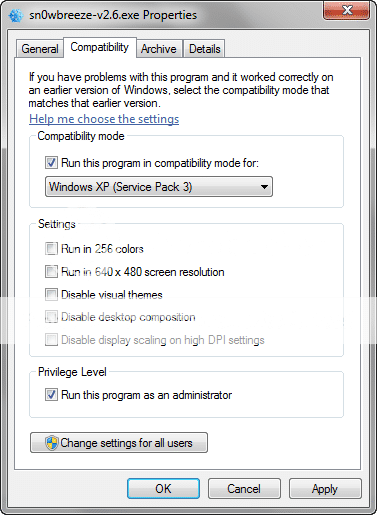
Windows7 and Vista users should set the compatibility properties for sn0wbreeze by right clicking on the EXE file, choosing "properties", switching to the Compatibility tab, and selecting "Windows XP (Service Pack 2)" and "Run this program as an administrator".
The following screen shows what it should look like for Windows7 users:
Lets Jailbreak!
Once your preparation is complete, we can get started on the jailbreak process...
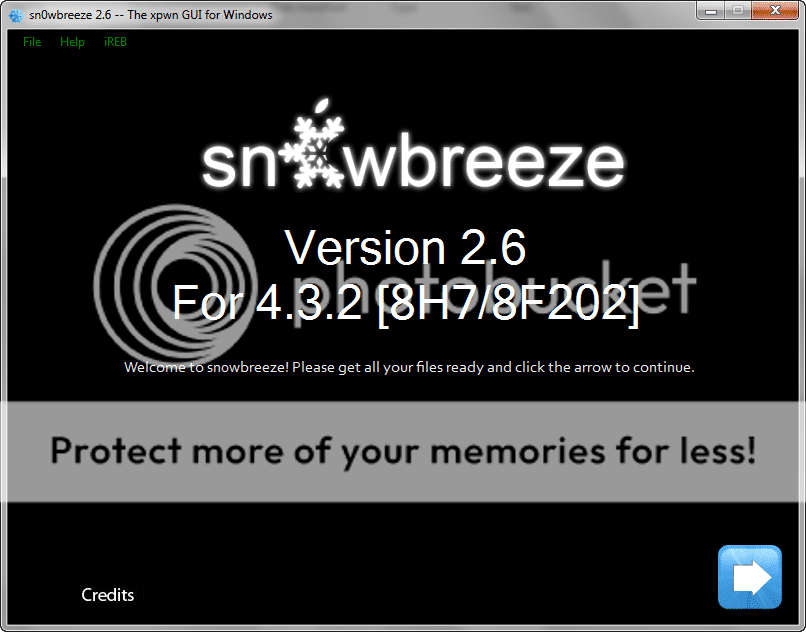
1. Launch the sn0wbreeze executable and you will be presented with a screen as follows:
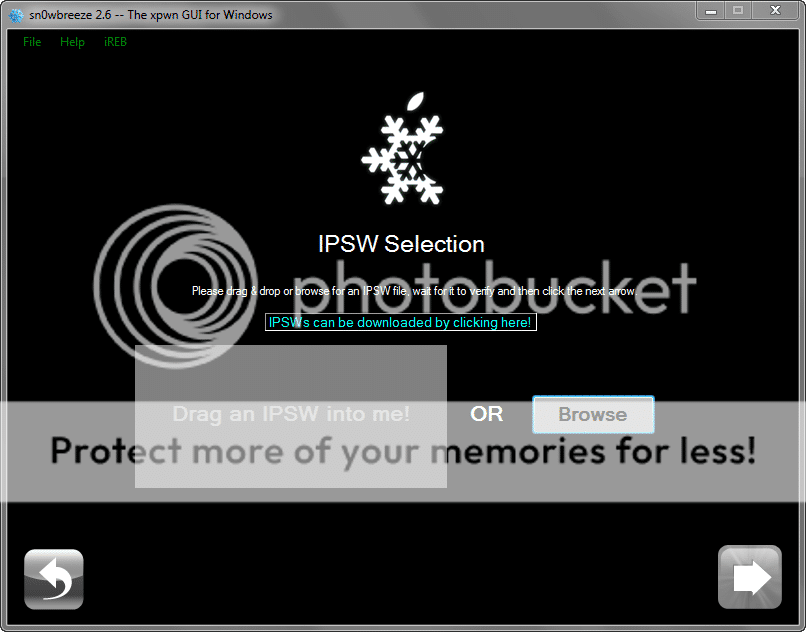
2. Click the big blue arrow and sn0wbreeze will request that you either drag the IPSP file you downloaded in the preparation step onto the grey box, or press the "Browse" button to select the file using a dialogue box...
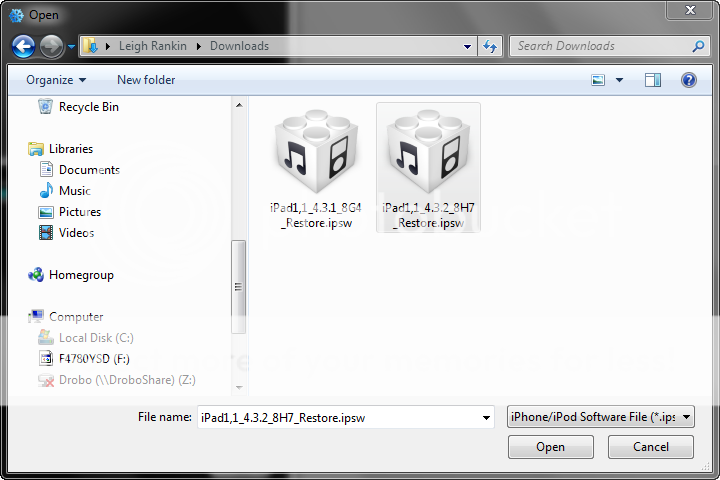
Ensure you browse for or drag and drop the correct firmware file for the version of sn0wbreeze. In this example I'm selecting the iPad1 4.3.2 firmware file from my downloads folder for sn0wbreeze 2.6.
3. sn0wbreeze will now analyse the firmware file and verify it can be jailbroken using this tool...
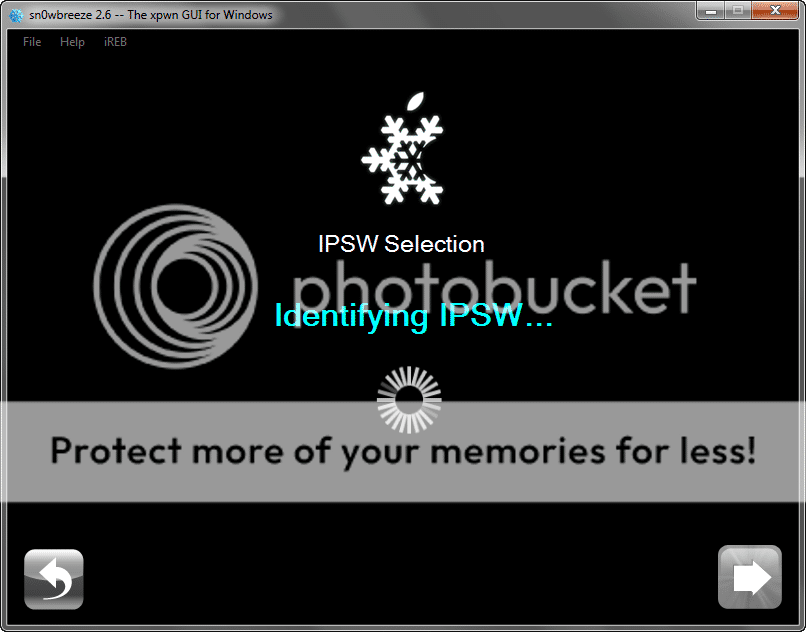
You should see the following screen if the file is successfully verified.

If this step generates an error for you you should double check you have downloaded the correct IPSW file for the iPad1 and that the download completed successfully. Smaller than expected file sizes are a good indication of this. You can expect iPad IPSW files to normally be around 600MB for 4.x versions.
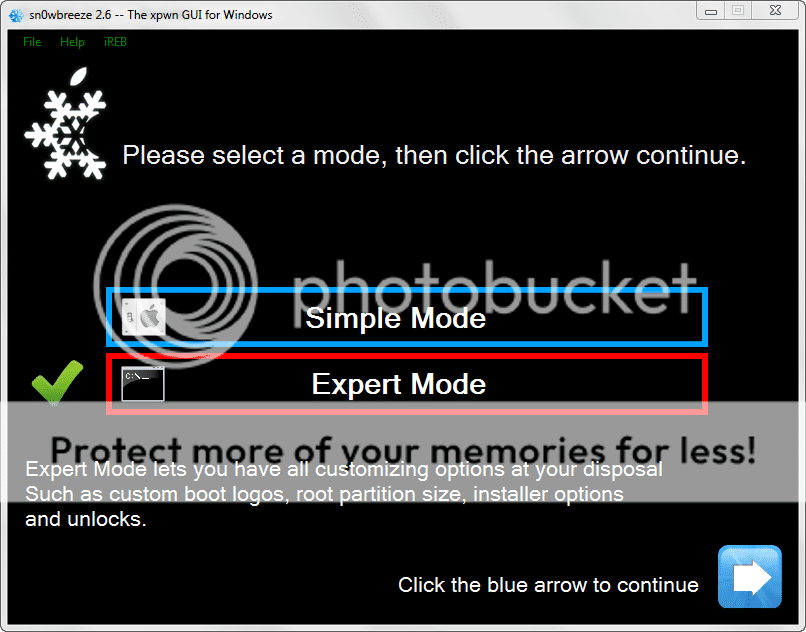
4. Next, you have a choice to use simple mode or expert mode. Choosing Simple Mode will immediately create a custom firmware with a default set of options which includes Cydia (of course), along with some other sensible defaults.
For completeness, we will look at Expert Mode so that we can add in a couple of bonus items to the jailbreak, namely multitasking gestures and animated boot logos. We won't be exploring all of the expert options in this tutorial.
For now, click "Expert Mode" and press the arrow key...
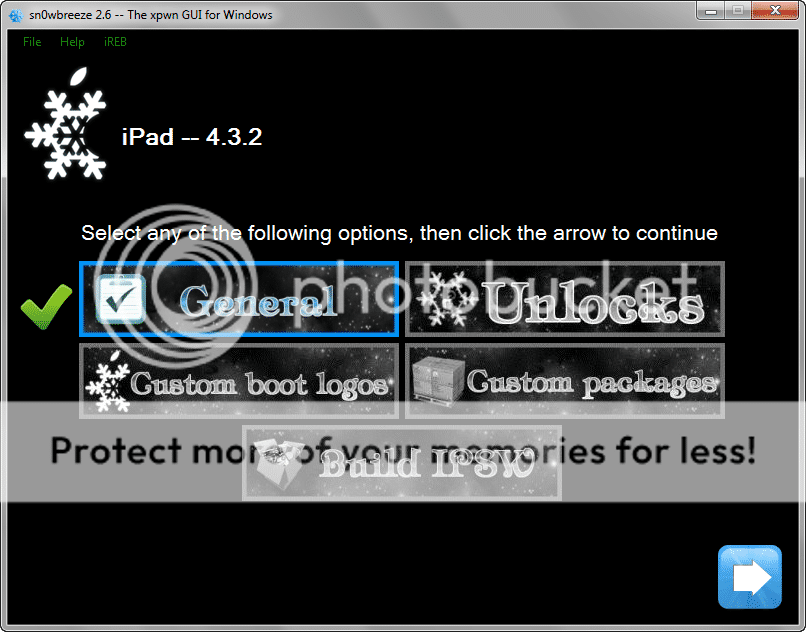
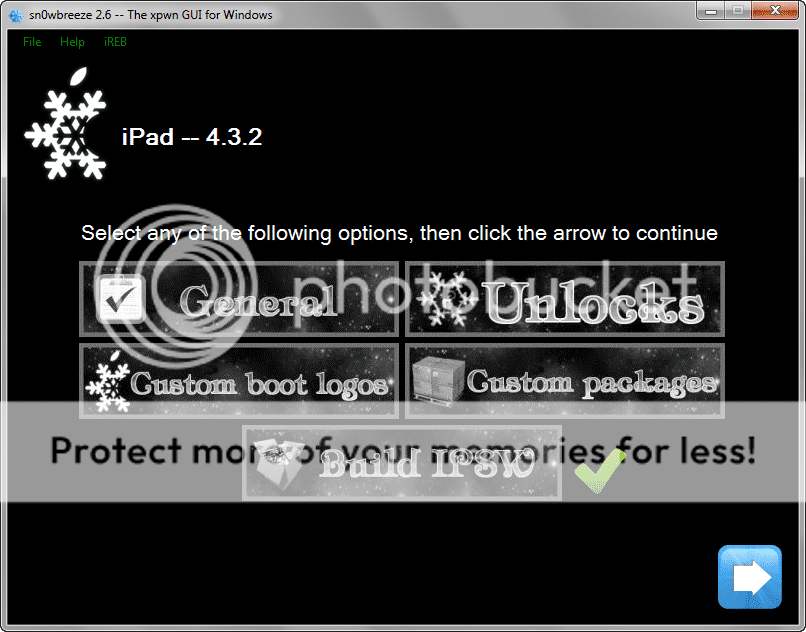
The options we want to select are in the "General" category, so go ahead and click "General" to tick it, followed by the blue arrow to move to the next screen...
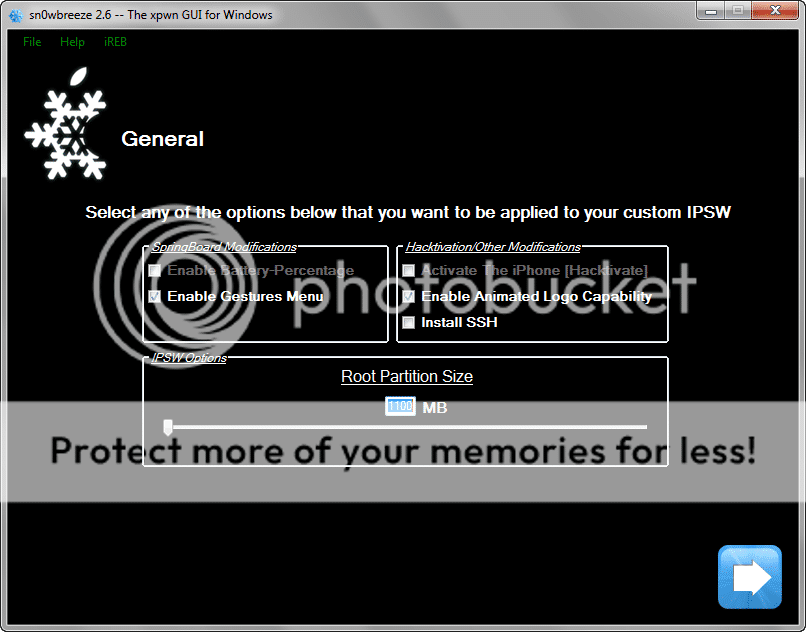
Here, if not already ticked, you should tick "Enable Gestures Menu", which provides the developer preview multitasking gestures on your iPad. Check the Settings > General menu once the jailbreak is complete for details on these.
Also tick "Enable Animated Logo Capability" which allows you to download animated boot logos from Cydia and enable them in the Settings app. My favourite is "Animate Apple". Try it out!
Once you are happy with the options, press the blue arrow...
sn0wbreeze also has the option to add custom packages into the custom firmware, but we won't be looking at these advanced topics today... Just click the blue arrow to continue...
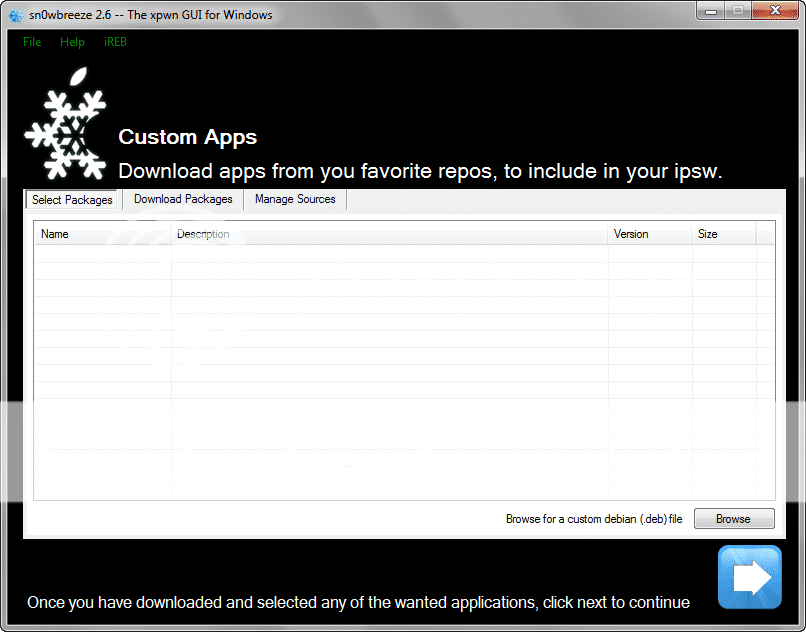
Finally, we can tick the "Build IPSW" option and click the blue arrow to build our custom firmware file...
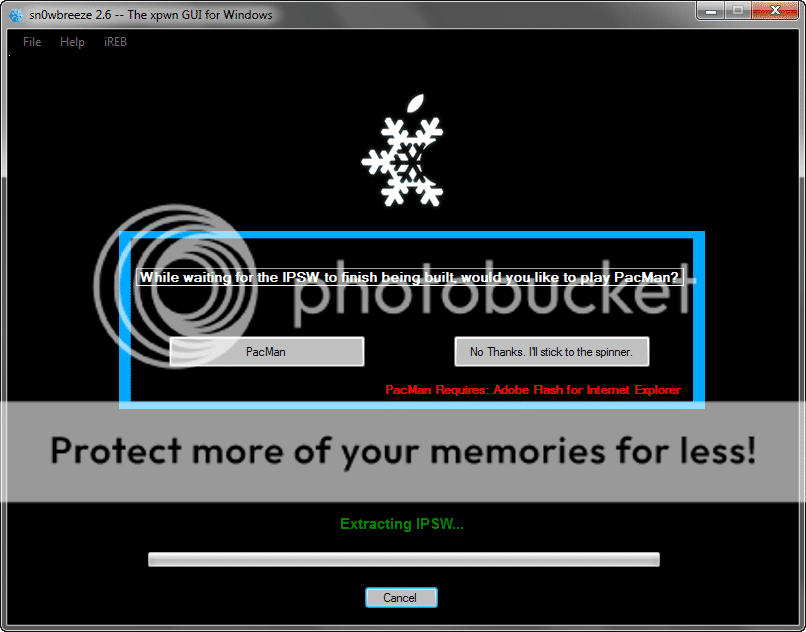
5. Now sn0wbreeze begins creating a custom jailbroken firmware file in the background. As a nice diversion, you can choose to play pacman if you like! I prefer to watch the spinner...
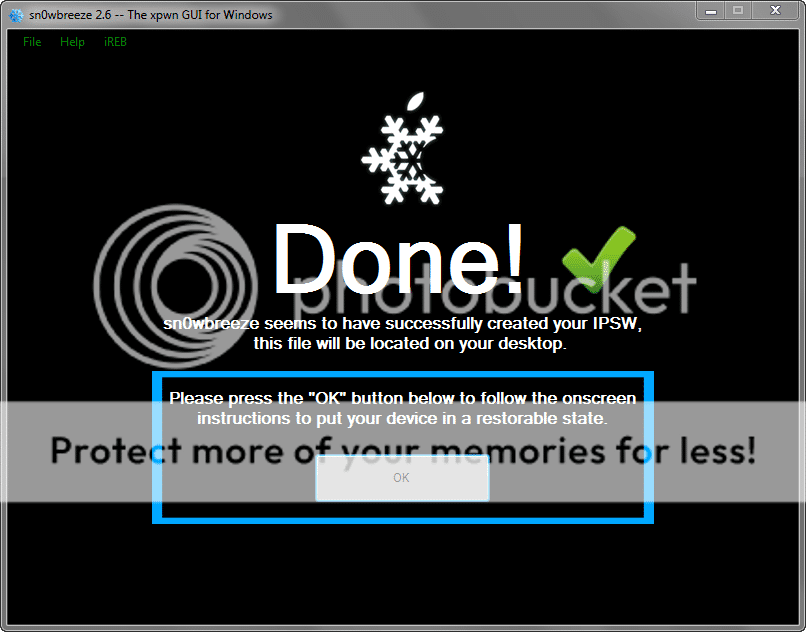
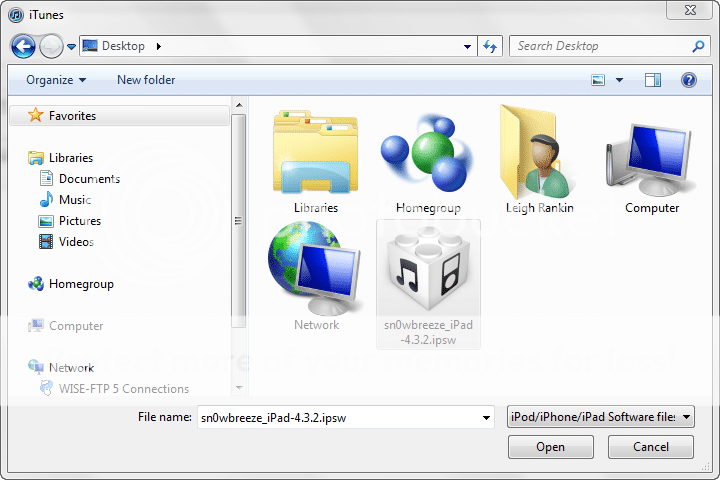
WOW! That was easy, eh? A minute or two later, a custom firmware file has been created. By default, sn0wbreeze will drop this on your Desktop, so look there first. The IPSW file will be called something like "sn0wbreeze_iPad-4.3.2.ipsw"
6. Now we must use iTunes to install this custom IPSW file. However, in order to do this and bypass the security checks in the bootrom of the iPad, we must put the iPad into a special pwned DFU mode using the greenp0ison exploit.
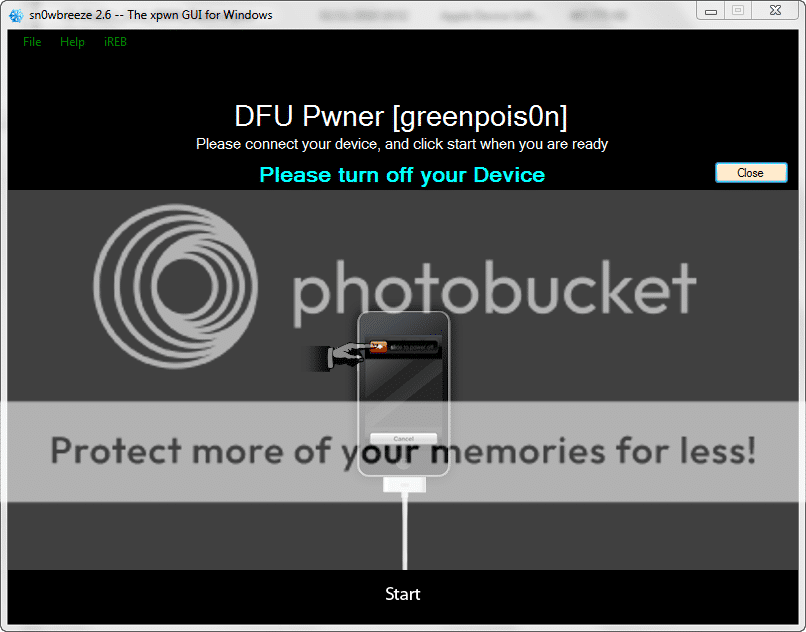
Happily this is no different for you, the user, than putting the iPad into normal DFU mode and sn0wbreeze helps you with this process... You now need to ensure your iPad is connected to your PC and follow the instructions on the screen exactly. We start by powering off the iPad and then clicking the "Start" button at the bottom of the screen.
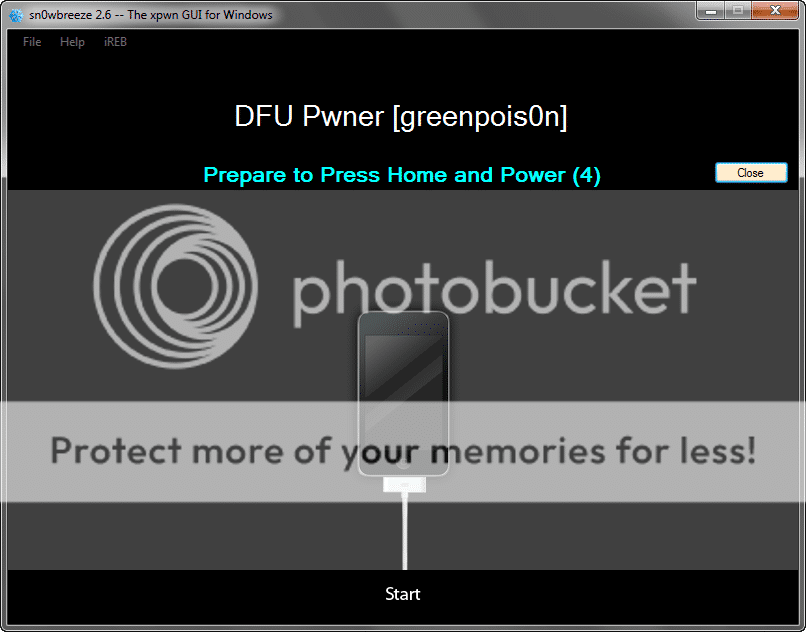
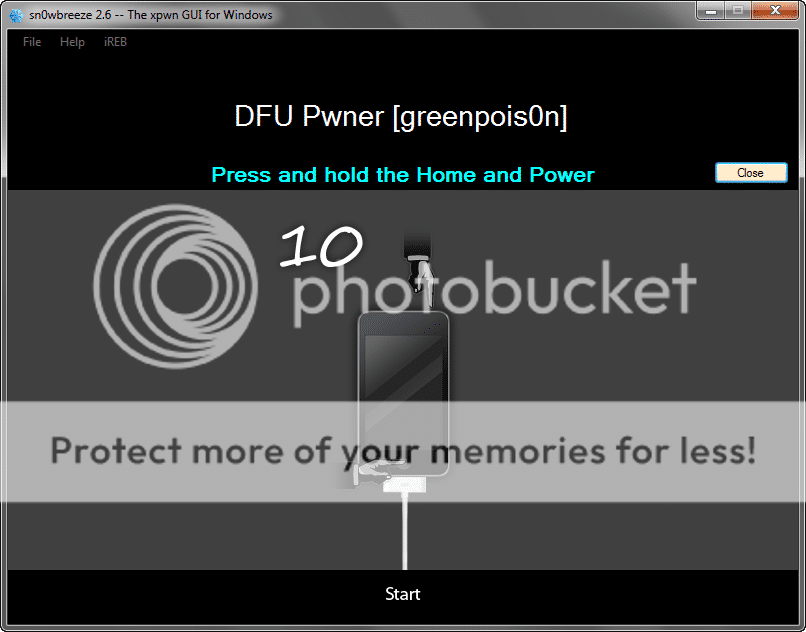
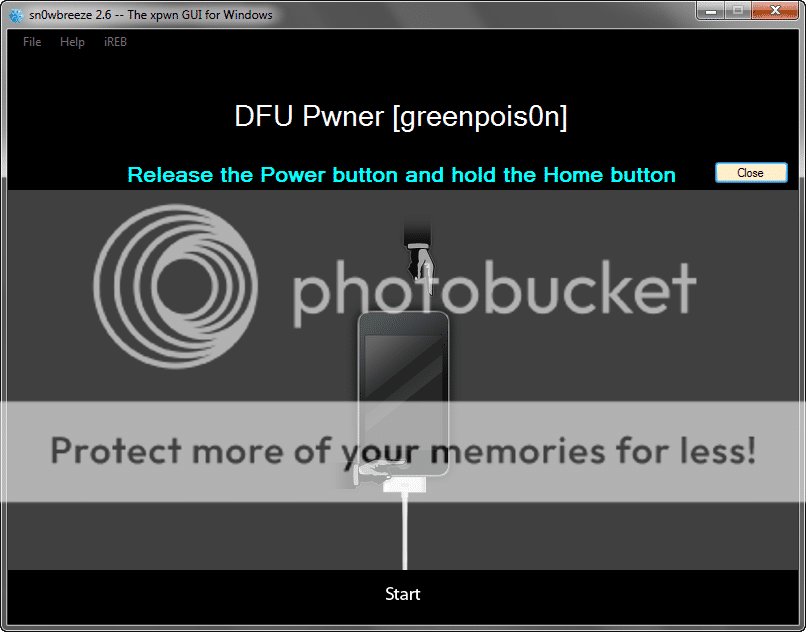
Three countdowns will be provided on screen in quick succession. The first one is just for preparation to power on the iPad and is not important to nail exactly. The other two however are critical and you must follow them perfectly with accurate timing and sequence. Then and only then will your device be in DFU mode (which is a black screen, so there is no way to tell by looking at the device). Ignore what is happening on the iPad screen, and keep your concentration on your fingers and the instructions on sn0wbreeze.
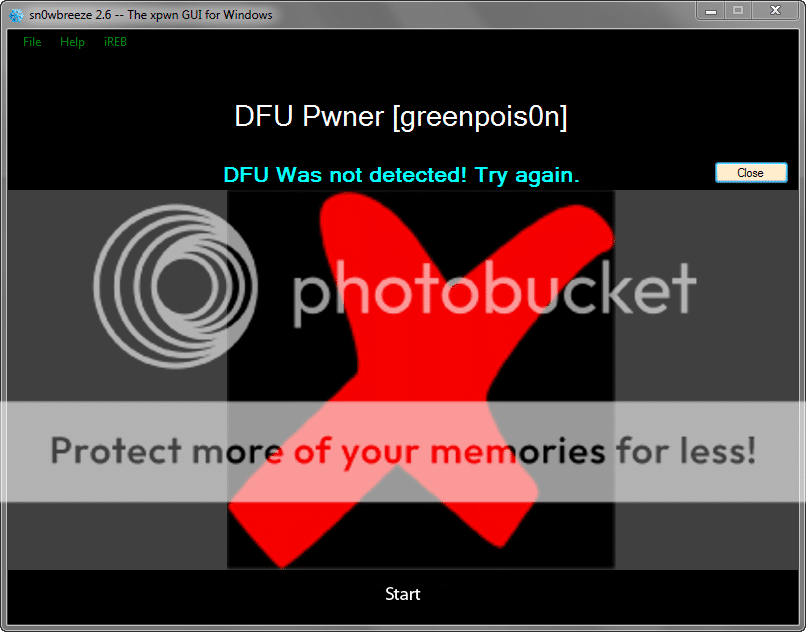
If you get the timing wrong or make a mistake, DONT PANIC! You will see the big red X below but you can click the Start button and try again. Practice makes perfect with DFU mode! It may help to note that you do not have to start with the iPad turned off. This is just for convenience.
One thing to note is that it WILL take time for Windows to install device drivers for DFU mode the first time you try it. DONT pull the plug or stop it working. This may result in sn0wbreeze not picking up the device first time, but let Windows finish its thing. On slower machines I have seen it take 45 seconds + to install DFU mode drivers the first time it tries so the timings cannot be met on the first run. Windows will have to install drivers every time you try a new USB port, so bear that in mind. Don't get impatient, and don't interrupt the process! I am convinced that interruption of the device driver installation is the number one reason people complain about their PC not recognising their device!
Hopefully, you will have nailed the timing and you should see a screen like this...
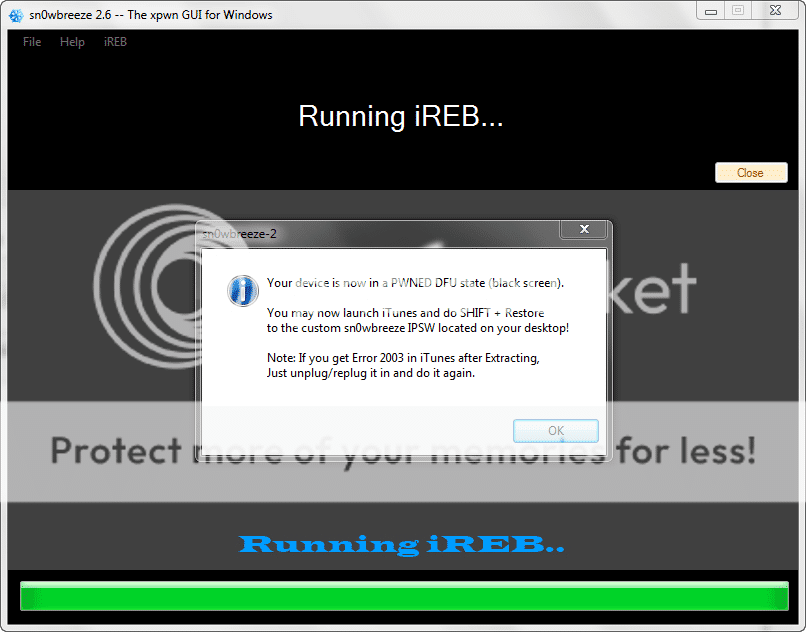
7. So! sn0breeze has given you the rest of the instrucitons for the tutorial... We have to launch iTunes, which will tell us there is a device in DFU mode connected which must be restored, but because this is pwned DFU mode it will let us install our custom firmware. When iTunes is open it should look something like this...
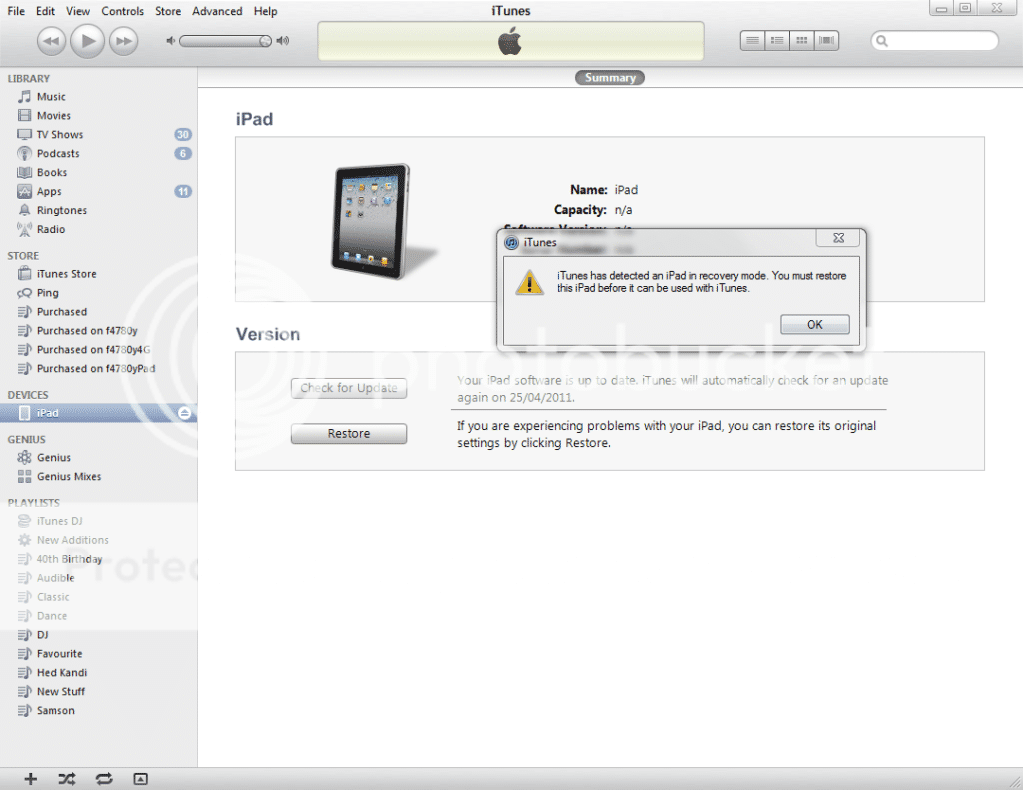
Dismiss the message by clicking OK.
8. Hold down the shift key on the keyboard - THIS IS IMPORTANT, and whilst holding it, click the "Restore" button. This will allow you to navigate to the sn0wbreeze custom firmware and select it for restore...
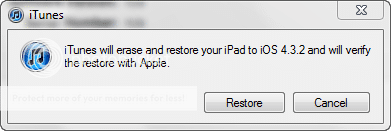
When you select the file, iTunes will warn you that it is about to perform a restore operation and verify it with their signing servers.
IF you are restoring a version of IOS which is not the current (latest) Apple firmware for your device, you must ensure that you have SHSH Blobs saved and ready to be served up to iTunes using a program such as Tiny Umbrella. However if you are installing the current version of IOS, Apple will provide the verification. There is no way around this system, so if you are installing a previous version of IOS and you don't have saved blobs served up to iTunes this process will fail...
Assuming blobs are not an issue for you, press the restore button to proceed...
9. iTunes should now prepare the iPad for restore and progress as expected. This process may take quite a while to complete depending on your setup...

Within a few minutes you should see a progress bar appear on the iPad with the iH8sn0w logo above it. Progress may be slow, but there should always be progress. If the restore hangs in one place for more than 5-10 minutes there has likely been a problem.
10. If everything has gone to plan, you can now just sit back, relax, and enjoy, whilst iTunes does its thing. Once the restore is complete iTunes will treat the iPad just like any other newly restored device, even though it is jailbroken...
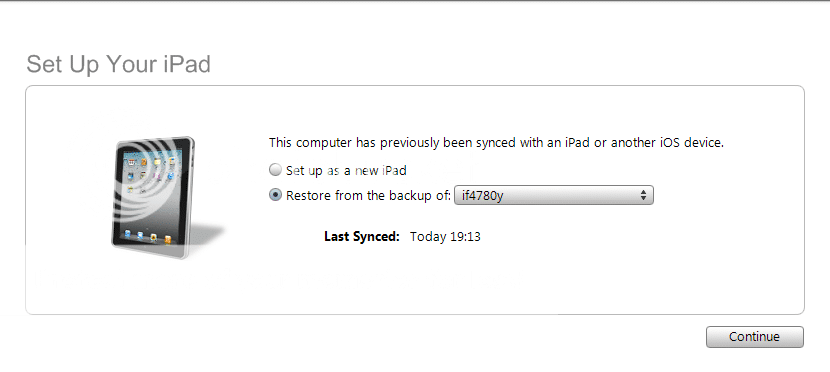
If you synchronised at the beginning of the process to create a backup and you want to restore the iPad apps and settings onto this fresh firmware, choose the "Restore from the backup of..." option.
Otherwise, if you want to keep that factory fresh feel and re-install your Apps from iTunes in a controlled manner, choose "Set up as new iPad".
10. You should find the new "Cydia" application icon on your springboard at the end of the list of Apps.
That's it! You are jailbroken. Congratulations!
Now launch Cydia and start exploring the brave new world!
Jailbreak Preparation.
The advantage of using sn0wbreeze to jailbreak is that you do not need to prepare the iPad with the particular firmware you intend to jailbreak. sn0wbreeze will install a fully jailbroken customised firmware as part of it process.
However, if you want to restore your iPad with it's current Apps and settings (saved game data, etc.) at the end of the process, you must ensure you have syncronised fully with iTunes before you progress. The backup process in iTunes (which is the first thing to run) must have completed without errors if you want to be able to restore the state of your iPad later.
The versions of IOS which are supported by sn0wbreeze are detailed in our Hacking Section Sticky - Jailbreak Methods. If you are not upgrading to the current IOS firmware release you may need to reference our SHSH Blob Frequently Asked Questions thread to understand how you can use blobs to install a firmware other than the latest and greatest Apple offering. Whilst sn0wbreeze enables you to install a custom firmware, it cannot bypass the Apple signature check for the version you are trying to install, therefore unless you have saved blobs or you installing the current firmware version then you are out of luck.
Next, you will need to download the latest version of sn0wbreeze from the iH8sn0w website. Always source sn0wbreeze from this site to ensure its authenticity.
Finally, sn0wbreeze relies on having a full copy of the IOS firmware IPSW file to create its custom firmware file. You need to download the correct firmware file, matching the version of IOS you want to be installed on your iPad. Check out our Hacking Section Sticky - Official Apple IOS Firmware Download Links for iPad.
Whilst the firmware file is downloading, which may take some time depending on the speed of your internet connection, you should extract the sn0wbreeze ZIP file into a folder on your desktop.
Important Step!
Windows7 and Vista users should set the compatibility properties for sn0wbreeze by right clicking on the EXE file, choosing "properties", switching to the Compatibility tab, and selecting "Windows XP (Service Pack 2)" and "Run this program as an administrator".
The following screen shows what it should look like for Windows7 users:
Lets Jailbreak!
Once your preparation is complete, we can get started on the jailbreak process...
1. Launch the sn0wbreeze executable and you will be presented with a screen as follows:
2. Click the big blue arrow and sn0wbreeze will request that you either drag the IPSP file you downloaded in the preparation step onto the grey box, or press the "Browse" button to select the file using a dialogue box...
Ensure you browse for or drag and drop the correct firmware file for the version of sn0wbreeze. In this example I'm selecting the iPad1 4.3.2 firmware file from my downloads folder for sn0wbreeze 2.6.
3. sn0wbreeze will now analyse the firmware file and verify it can be jailbroken using this tool...
You should see the following screen if the file is successfully verified.
If this step generates an error for you you should double check you have downloaded the correct IPSW file for the iPad1 and that the download completed successfully. Smaller than expected file sizes are a good indication of this. You can expect iPad IPSW files to normally be around 600MB for 4.x versions.
4. Next, you have a choice to use simple mode or expert mode. Choosing Simple Mode will immediately create a custom firmware with a default set of options which includes Cydia (of course), along with some other sensible defaults.
For completeness, we will look at Expert Mode so that we can add in a couple of bonus items to the jailbreak, namely multitasking gestures and animated boot logos. We won't be exploring all of the expert options in this tutorial.
For now, click "Expert Mode" and press the arrow key...
The options we want to select are in the "General" category, so go ahead and click "General" to tick it, followed by the blue arrow to move to the next screen...
Here, if not already ticked, you should tick "Enable Gestures Menu", which provides the developer preview multitasking gestures on your iPad. Check the Settings > General menu once the jailbreak is complete for details on these.
Also tick "Enable Animated Logo Capability" which allows you to download animated boot logos from Cydia and enable them in the Settings app. My favourite is "Animate Apple". Try it out!
Once you are happy with the options, press the blue arrow...
sn0wbreeze also has the option to add custom packages into the custom firmware, but we won't be looking at these advanced topics today... Just click the blue arrow to continue...
Finally, we can tick the "Build IPSW" option and click the blue arrow to build our custom firmware file...
5. Now sn0wbreeze begins creating a custom jailbroken firmware file in the background. As a nice diversion, you can choose to play pacman if you like! I prefer to watch the spinner...
WOW! That was easy, eh? A minute or two later, a custom firmware file has been created. By default, sn0wbreeze will drop this on your Desktop, so look there first. The IPSW file will be called something like "sn0wbreeze_iPad-4.3.2.ipsw"
6. Now we must use iTunes to install this custom IPSW file. However, in order to do this and bypass the security checks in the bootrom of the iPad, we must put the iPad into a special pwned DFU mode using the greenp0ison exploit.
Happily this is no different for you, the user, than putting the iPad into normal DFU mode and sn0wbreeze helps you with this process... You now need to ensure your iPad is connected to your PC and follow the instructions on the screen exactly. We start by powering off the iPad and then clicking the "Start" button at the bottom of the screen.
Three countdowns will be provided on screen in quick succession. The first one is just for preparation to power on the iPad and is not important to nail exactly. The other two however are critical and you must follow them perfectly with accurate timing and sequence. Then and only then will your device be in DFU mode (which is a black screen, so there is no way to tell by looking at the device). Ignore what is happening on the iPad screen, and keep your concentration on your fingers and the instructions on sn0wbreeze.
If you get the timing wrong or make a mistake, DONT PANIC! You will see the big red X below but you can click the Start button and try again. Practice makes perfect with DFU mode! It may help to note that you do not have to start with the iPad turned off. This is just for convenience.
One thing to note is that it WILL take time for Windows to install device drivers for DFU mode the first time you try it. DONT pull the plug or stop it working. This may result in sn0wbreeze not picking up the device first time, but let Windows finish its thing. On slower machines I have seen it take 45 seconds + to install DFU mode drivers the first time it tries so the timings cannot be met on the first run. Windows will have to install drivers every time you try a new USB port, so bear that in mind. Don't get impatient, and don't interrupt the process! I am convinced that interruption of the device driver installation is the number one reason people complain about their PC not recognising their device!
Hopefully, you will have nailed the timing and you should see a screen like this...
7. So! sn0breeze has given you the rest of the instrucitons for the tutorial... We have to launch iTunes, which will tell us there is a device in DFU mode connected which must be restored, but because this is pwned DFU mode it will let us install our custom firmware. When iTunes is open it should look something like this...
Dismiss the message by clicking OK.
8. Hold down the shift key on the keyboard - THIS IS IMPORTANT, and whilst holding it, click the "Restore" button. This will allow you to navigate to the sn0wbreeze custom firmware and select it for restore...
When you select the file, iTunes will warn you that it is about to perform a restore operation and verify it with their signing servers.
IF you are restoring a version of IOS which is not the current (latest) Apple firmware for your device, you must ensure that you have SHSH Blobs saved and ready to be served up to iTunes using a program such as Tiny Umbrella. However if you are installing the current version of IOS, Apple will provide the verification. There is no way around this system, so if you are installing a previous version of IOS and you don't have saved blobs served up to iTunes this process will fail...
Assuming blobs are not an issue for you, press the restore button to proceed...
9. iTunes should now prepare the iPad for restore and progress as expected. This process may take quite a while to complete depending on your setup...
Within a few minutes you should see a progress bar appear on the iPad with the iH8sn0w logo above it. Progress may be slow, but there should always be progress. If the restore hangs in one place for more than 5-10 minutes there has likely been a problem.
10. If everything has gone to plan, you can now just sit back, relax, and enjoy, whilst iTunes does its thing. Once the restore is complete iTunes will treat the iPad just like any other newly restored device, even though it is jailbroken...
If you synchronised at the beginning of the process to create a backup and you want to restore the iPad apps and settings onto this fresh firmware, choose the "Restore from the backup of..." option.
Otherwise, if you want to keep that factory fresh feel and re-install your Apps from iTunes in a controlled manner, choose "Set up as new iPad".
10. You should find the new "Cydia" application icon on your springboard at the end of the list of Apps.
That's it! You are jailbroken. Congratulations!
Now launch Cydia and start exploring the brave new world!
Last edited:
") !!
!!